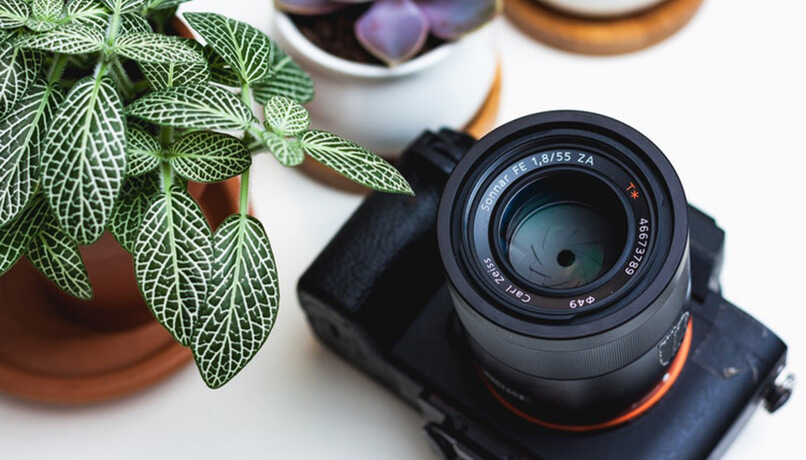
Getting started in photography at a professional level is never easy.
Firstly, because it is a highly competitive market. Secondly, you want to be taken seriously. Unfortunately, photography is a hobby for many, so making a career out of it might sound too dreamy to your close ones. It may be discouraging, but as with everything else in life, being determined shall get you through.
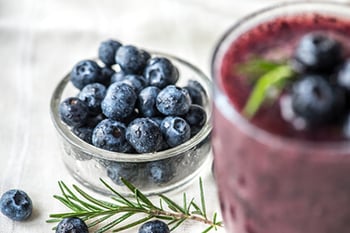 Fortunately, there are also many different kinds of photography, and the first step is to understand what you like and want to specialise in. If you have decided to become a food photographer, congratulations, it means you have already decided what your niche is. You are now one step ahead! When it comes to food photography, there are many things to discuss. Not only on an artistic level but also many technicalities as well as some investment. Let us consider these in the appropriate order:
STEP BY STEP GUIDE
1. Learn about basic photography
If you are already an amateur photographer, you will already know about this. If not, you will find everything is easier than it sounds. Here are three key terms: Aperture, Shutter Speed and Iso. All you need to do is learn how to juggle these three together. Don't get overwhelmed just yet; we will get to the recommended settings in a few moments.
2. Get a lens solely for photography.
Here's what will use up most of your budget. It is true that the camera does not make the photographer, but knowing what lens to use certainly does!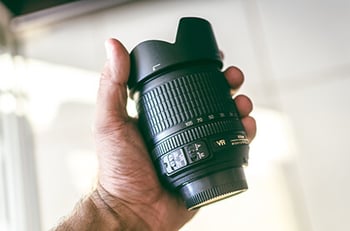 If you are just getting started, any professional camera with a minimum of 12MPs will do. A common amateur mistake is to go for a more expensive camera. Remember, the camera only receives and stores the information. It is the quality of the lens which creates the information that counts. A camera with a larger aperture is recommended - probably something in the region of f/1.2 - f/2. Want to find out why? Keep reading. Patience makes a master.
3. Get a business card
You don't need a website yet, but a simple business card with your name, number and email address will come in very handy for the next stages.
4. Prepare a portfolio ready
This is perhaps the part where you will spend more time. Getting a portfolio ready when you have just started will take a while and some voluntary work. We all have friends that work in the hospitality business. You probably also have a few local restaurants around that you think could benefit from newer, nicer and more professional photographs of their dishes. 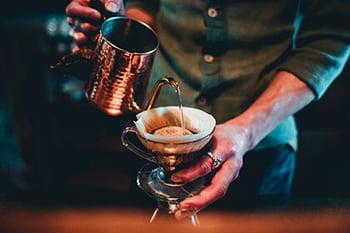 The best advice? Shout it out. Share your thoughts, offer some pictures. It might be hard if your character is on the shy side, but you will overcome this quickly. Food markets are also a great way to gain some practice and do not usually have a great set of pictures. A lot of them are new businesses, and surely they would appreciate you sending out a couple of images so that they can update their website. Who knows? They might require your services in the future or will know someone that does.
5. Build a website
You now have your equipment, your portfolio and your business card - it's time to build a website to complete the look. You don't need to be a programmer. Many sites will offer free website building services. It is recommended however that you buy a domain name, they cost under 10£ and will make your website look twice as professional.
TIPS & ADVICE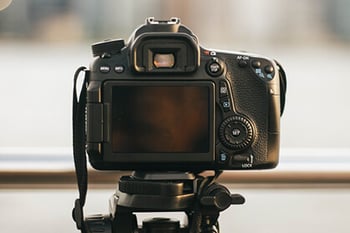 Let's move on to what makes good- seriously good- food photography. As mentioned earlier, it is a very competitive market. The way to beat that is to have your own style, but this does not mean that you have to decide a style before you start your career - this will come naturally with time.
If you are just beginning or have a low budget, you will need to keep it simple - there's no need for flashes, tripods or fancy backgrounds. You can keep it natural and still take great pictures. Here are some tips on what can make a food photograph appealing. But remember, rules are meant to be broken!
1. Use a very open aperture
Here's where the previously recommended large aperture lens comes in handy. You want the food to be the main subject, and taking pictures with a very open aperture will give it that blurry background 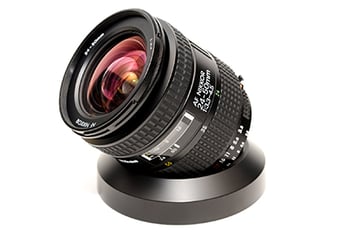 (aka bokeh), as well as that dreamy effect.
An open aperture will also allow more light to enter the camera, which will result in you probably not needing a tripod. Gives will give you more freedom and mobility, resulting in better angles and more artistic shots.
2. Use natural light
Play with the light by moving the food and objects to different locations - you might be able to see some interesting results. Shadows can also be fun to play with.
3. Be original
As mentioned, you will find your own style in time. The best advice is not to try and take a perfectly lit, boring food photography with a white background. The internet is full of those on stock photography markets, and they cost as little as 1$. If a hospitality business wanted this type of picture, they could go to the internet and get them for a fraction of what they'll be paying you. 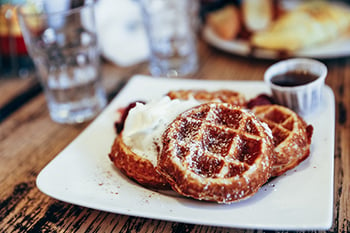 Bars, restaurants and catering companies pay professional photographers for marketing purposes. The pictures you will take for them will need to have an essence and represent their brand. How you achieve this is in your hands, just remember to have fun.
Being a food photographer is an amazing job. Needless to say, if you are a foodie and enjoy the art of photography, you will have found your dream job.
.png?width=1571&height=766&name=CFD%20knife%20and%20fork%20logo%20(carbonfriendlydining.org).png)

